Add a New Side Portlet in Plone
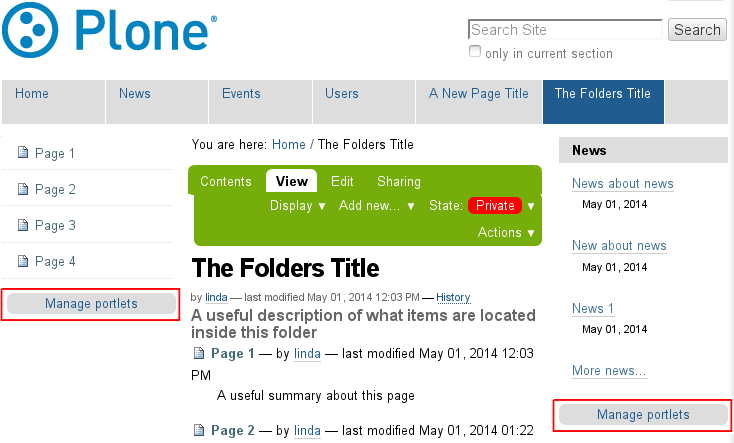
To access the portlet area on a Plone website, click on the words "Manage Portlets" found either on the left or right side of the main content when logged in. If you want a portlet to display on ALL pages throughout the site, access this area from your home page. If you only want to manipulate portlets in a particular area, go to the correct area and then click on "Manage Portlets".
In this example I am manipulating the portlets that appear only inside the folder called "The Folders Title".
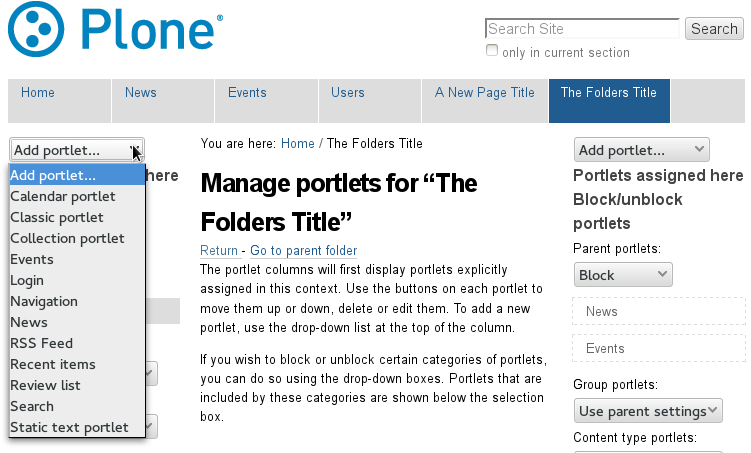
To add a new portlet to the left or right side of your content, click on "Add portlet.." drop-down box under the main navigation bar. Click on the type of portlet you wish to add. Be sure to do it on the correct side, adding a portlet using the "Add portlet.." drop-down box on the left, will display the portlet on the left of the content and vice versa - adding a portlet from the right "Add portlet.." drop-down box will display the portlet on the right side of the content.
From here we can add any of the portlets listed in the drop-down menu. Of these, the most commonly used would be the "Static text portlet". The input for this portlet is similar to a page with a Title, body text (mandatory), border, footer and link. You can add text, images, links etc into the body text area as required. By checking the "Omit portlet border" only the information in the 'body text' will be displayed, leaving it unchecked will display a header, a border and a footer.
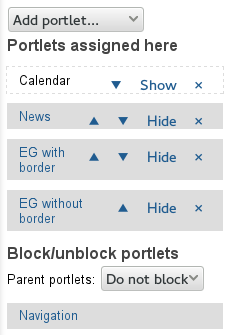
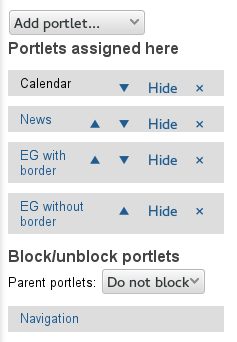
You can also tell that they are specific to this area because of the arrows. The arrows are used to change the portlet order - moving them above or below other portlets.
Hide / Show : The linked word indicates what will happen to the portlet when you click it - if it says 'Hide' then clicking the link will hide the portlet. The word 'Show' then appears (as shown in image on the right). Click on this word will again make the portlet visible again. This can be useful for a portlet you re-use occasionally with minimal changes, for example an annual message.
The 'x' is the delete button. If you no longer want the portlet, click 'x' to delete it.
When adding new portlets, you do not have to click on the 'Save settings' button.
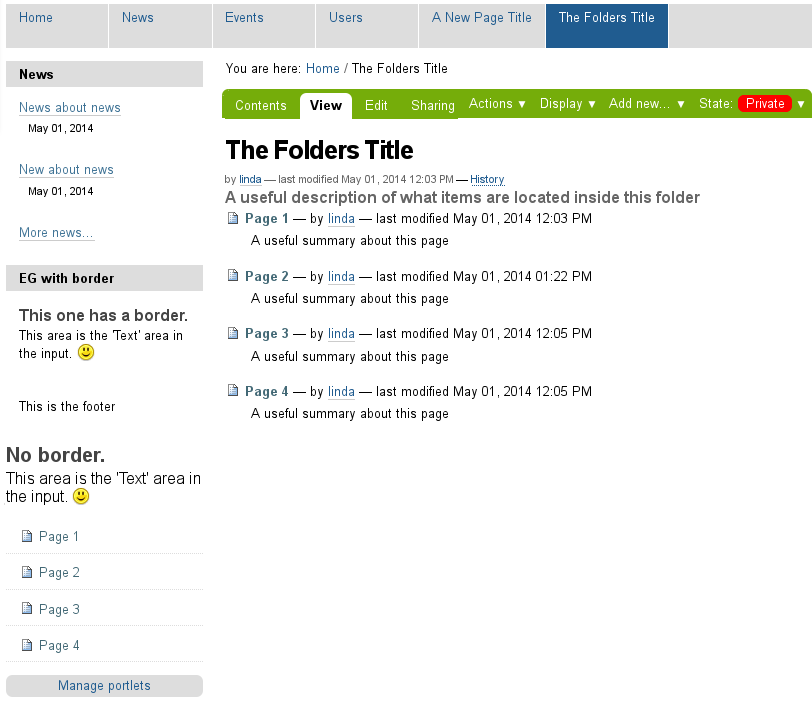
So now that we have added these new portlets, the image below shows how the page would look. Note the right side portlets are still hidden, as is the calendar. News has been restricted to 2 items only. The 'EG with border' is a 'Static text portlet' with the 'Omit portlet border' left unchecked. The 'No border' example has had the 'Omit portlet border' checked. The omit border is useful if you are displaying images. After the area specific portlets is the parent Navigation portlet.

